I like to stock up on strawberries when they are $0.99 per pound, but prices usually range from $3 – $5 per pound. And if you’re talking organic berries, those are selling closer to $6 per pound. Whether protecting your $6 organic investment or rationalizing the eight pounds of $0.99 strawberries you just bought on impulse, extending the life of your berries and avoiding waste is like finding loose cash in the laundry — freakin’ awesome.
Unlike other foods that don’t expire, strawberries are more fragile and spoil rather quickly. Lucky for you, I’ve found several methods for preserving strawberries well past the few days they typically last. Why do strawberries go so quickly? It has a lot to do with the long journey it takes just to get to store shelves (sometimes a week). While you can’t control what happens to strawberries before you buy them, there are some rules to help ensure they last long enough to enjoy them.
I did my research and tested several methods. These are easy and don’t require any special equipment. Before we take a look, keep in mind your results may vary due to many factors. Some of those include the variety of strawberries you have, how they were grown, and the time of year you’re buying them.
When you intend to eat or use your strawberries will help determine which storing method is best for you. I’ll share a few strawberry storage tips you should follow regardless of which method you choose. Let’s get to it!
Download The Krazy Coupon Lady app for more life and food hacks.
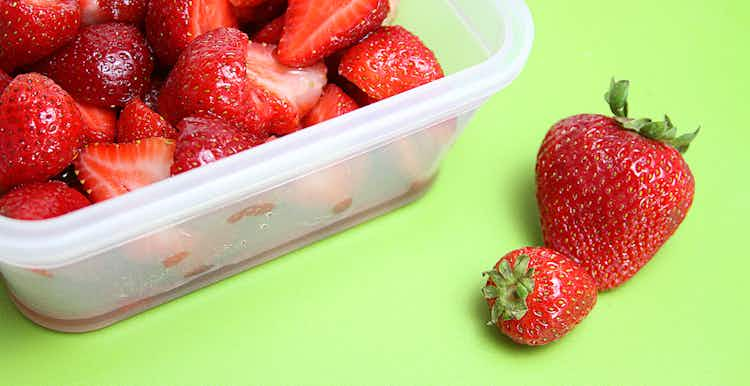
How to store fresh strawberries using the original container.

If you intend to consume or use your strawberries within a day or two, you can simply leave them as they are in their original container on your counter. Do not cut or rinse the strawberries until you’re ready to eat. Looking for inspiration for your fresh strawberries? Use them in a cobbler or cheesecake recipe.
PRO TIP: Remove berries with mold to prevent it from spreading.
Here’s a tip so strawberries last up to one week in the fridge.
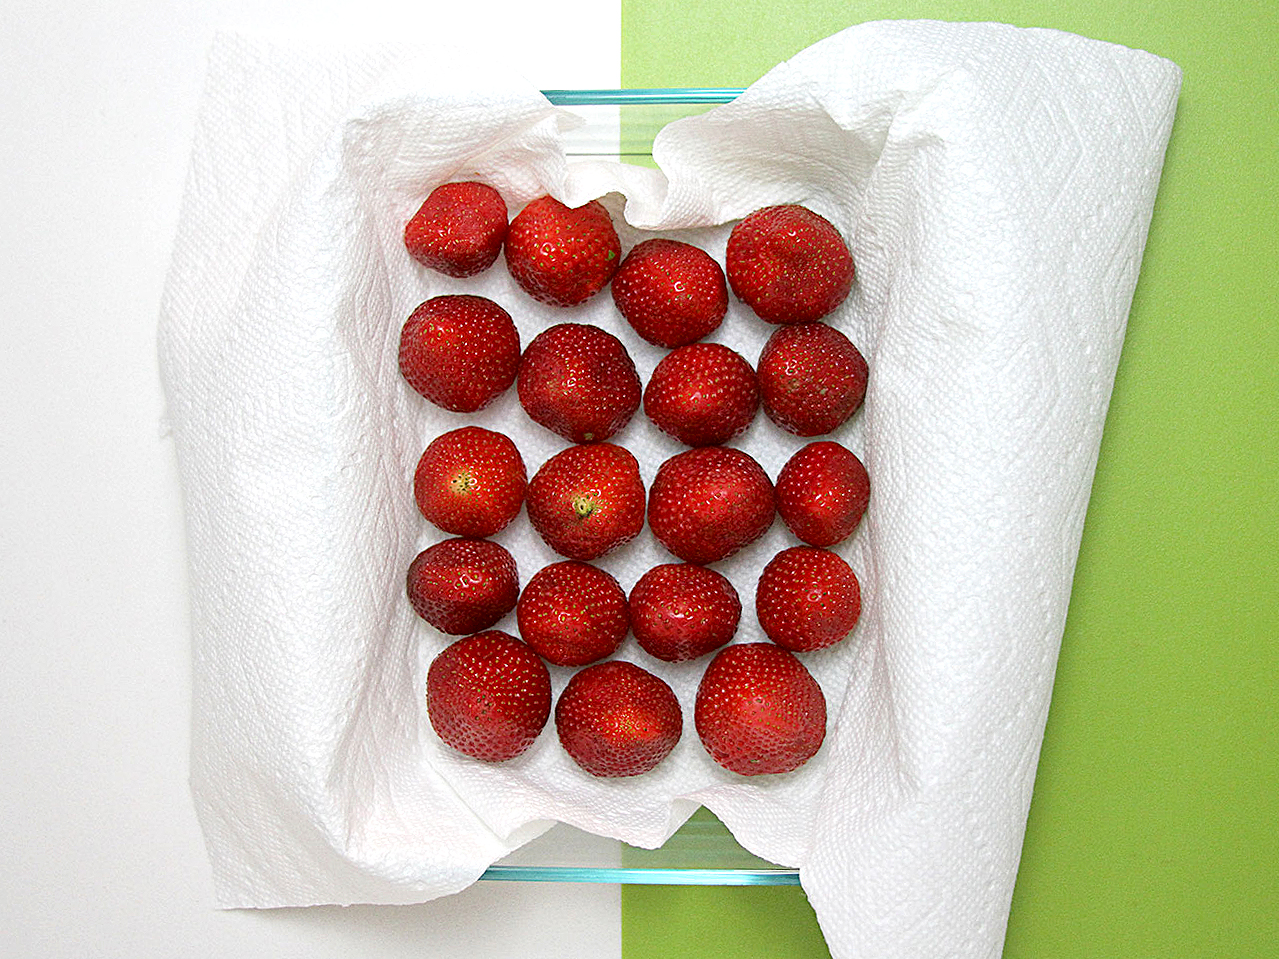
This method requires a flat surface to place the fruit, like a plate, cookie sheet, or glass baking dish. Line the container with two layers of paper towels. Next, place the (unwashed) strawberries with their stems still attached upside down on the paper towel-lined container. Then put them in the refrigerator. To help preserve your berries for the week, keep them in a single layer and leave some space between each one. Whether you use a family favorite or a copycat recipe, you can always find a way to incorporate your fresh strawberries into something delicious.
PRO TIP: Never wash strawberries until you’re ready to eat them. Washing them introduces moisture to the berry, which can cause them to mold.
Use the vinegar bath method to help strawberries last up to two weeks.

Before you stick your strawberries in the fridge, give them a quick bath in vinegar. In vinegar? Yep. Stay with me.
1. Mix 3 parts water with 1 part white vinegar.
Repeat that to yourself: 3 parts water, 1 part white vinegar. For the mathematically challenged, that’s like 6 cups of water and 2 cups of vinegar for a total of 8 cups of liquid.
TIP: Be sure you use white vinegar, not apple cider vinegar; otherwise, your strawberries will have an unpleasant taste.
2. Soak for 5 – 10 minutes.
One main reason I didn’t soak the strawberries in my sink is because it would take a lot of vinegar to keep the necessary concentration in a kitchen sink. So, a bowl it is.
3. Do not rinse the berries.
After the quick bath, I drained my berries. When you’re doing this, resist the urge to rinse off the vinegar smell. The vinegar wash protects berries against mold. If you rinse them under the tap, you’ll undo the whole process.
4. Allow berries to dry completely.
Moisture is your enemy. Now’s when I wished I had a salad spinner because that would have sped up the drying process. Bacteria hearts moisture, so make sure to let your berries dry completely before putting them back in the container. If you’re one of the cool kids with a salad spinner, give it a whirl. If you’re like me, you’ll have to rely on patience and evaporation.
I ate a berry at this stage and tasted a bit of a vinegar tang; however it wasn’t as unpleasant as I expected. But my skepticism did grow at first taste.
5. Reuse the breathable container.
Rinse, dry, and reuse the plastic container. Not only is it the green thing to do, but the container is designed for breathability. This is a feature your berries will appreciate when you put them in the fridge. All you have to do now is put the dry strawberries in the clean container and refrigerate.
I ate another berry once it had dried completely, and the vinegar taste was gone. Like, gone-gone! I could still smell the difference between the control group and the vinegar group, but there was no discernible taste difference once the evaporation had taken place. Attitude 180-degree shift. Now I’m thinking I might be a believer.
6. Judge the results.
While there was a fair amount of shriveling among the strawberries, there was no mold. Conservatively, I’d say the vinegar bath gave at least a two to three day advantage to the fruit.
Vinegar Berry Wash
- 6 cups water
- 2 cups vinegar
- 1 pound strawberries
Related: How to Make Produce Last Longer
This is how to store fresh strawberries with sugar for up to 12 months.
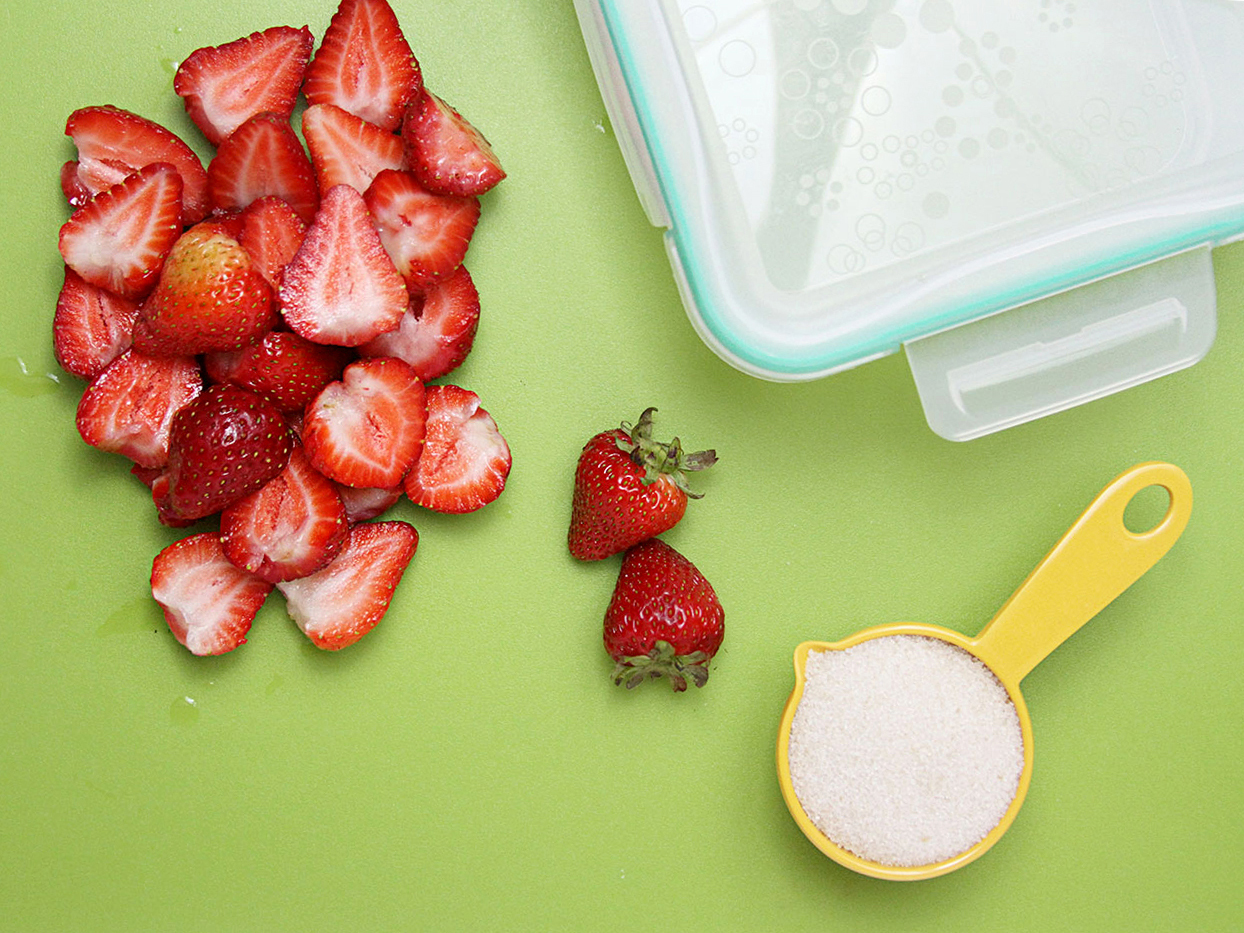
Using an airtight container and granulated sugar (1/4 cup per 10 ounces of strawberries), you can store this fruit for up to 12 months. Here’s how:
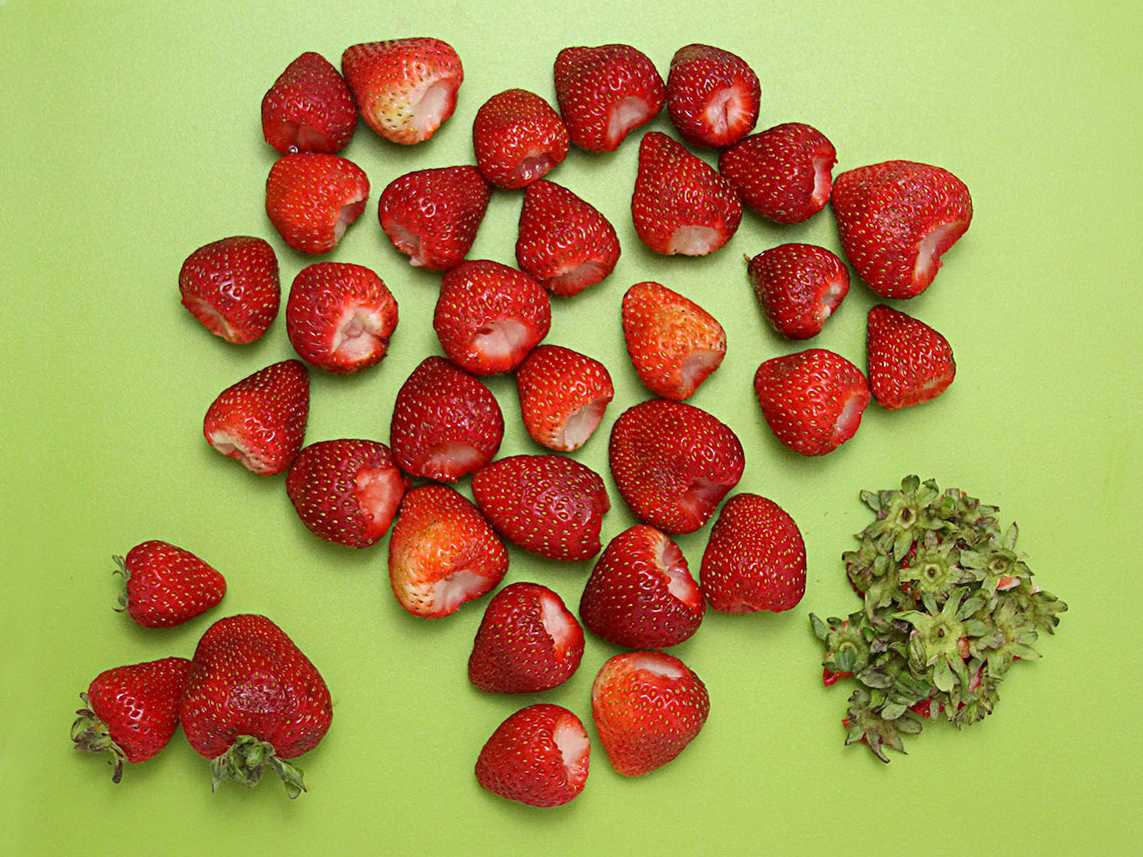
- Remove the stems (holding the strawberry with one hand, insert a paring knife next to the stem and turn the strawberry guiding your knife around the stem).
- Rinse them with cold water in a large bowl or pot; drain.
- Cut strawberries in half and return to bowl or pot.
- Pour sugar over the strawberries.
- Stir gently until the sugar has melted.
- Drain any excess liquid.
- Place the mixture into a freezer-safe container.
- Seal with lid.
- Store in the freezer.
To thaw strawberries, you have options:
- Put frozen strawberries in a container, then slide them into the refrigerator. Allow to thaw about six hours.
- Place frozen strawberries in a single layer on a plate. Set on counter to thaw for about 45 minutes.
- Take frozen strawberries and put them into a leakproof container. Set the container inside a larger container that has cold water in it. Thawing time is about 30 minutes.
- Place frozen strawberries in a single layer on a micorwave-safe plate. Microwave on defrost, checking every minute until thawed. Thawing time should be just a few minutes.
Try using your fresh strawberries in our favorite popsicle recipes.
But wait, you can store them in the freezer for up to one year.
If you buy more strawberries than you can eat, freezing is the best method for storing them. Freezing long-term will change the fruit’s texture; however, strawberries will maintain their flavor when frozen. Instead of just sticking the fruit into the freezer, we’re going to flash freeze them first. Throw them frozen into your blender for smoothies or allow the strawberries to thaw to use in baking recipes.
- Remove stems (as above).
- Rinse the strawberries under cold water.
- Allow them to air dry.
- Cut the strawberries (half, slice, or leave them whole).
- Lay on a parchment paper-lined cookie sheet or freezer-safe plate, then put them into the freezer for at least an hour.
- Remove them from the freezer and place them into a resealable, freezer-safe storage bag.
- Label and date the bag.
- Place the bag into your freezer.
PRO TIP: Flash-freezing individual pieces of fruit help prevent the fruit from degrading and freezing as a large lump due to moisture.


Tell us what you think