
Get all the new deals and savings hacks straight to your inbox
Will be used in accordance with our Privacy Policy
Over the last decade the Instant Pot has elbowed its way onto many a kitchen counter. The multifunctional appliance earns its place with slow cooker, pressure cooker, and saute capabilities (just to name a few). So you can either set-it-and-forget-it before leaving for work or pressure cook a whole chicken in a fraction of the time it takes in the oven.
That’s all great, but when the Instant Pot’s many buttons and menacing-looking steam valve are staring you in the face, the appliance ($99.95, Amazon) can be intimidating. I promise it’s easy to use once you get started.
They’re not quite as user-friendly as a simple Crock-Pot, but it’s worth learning how to use the multicooker just for the time you’ll save in the kitchen. There are a few basic steps for most easy Instant Pot recipes, but you’ll get the hang of it. Here’s what you need to know about using an Instant Pot.
For more money-saving tips, text DEALS to 57299 to be the first to know about the hottest deals each day.
How does an Instant Pot work?

The Instant Pot is a pressure cooker that works by using steam to build pressure. As the pressure builds forcefully inside the pot, it produces temperatures high enough to quickly heat and cook the food inside.
Instant Pots have other built-in cooking programs, too. It can act as a slow cooker, yogurt maker, rice maker, steamer, or saute pan — making it one of the most versatile small kitchen appliances on the market.
How to Use the Instant Pot: Step by Step
For starters, wash the pot and inside the lid with soap and water before using for the first time (and of course, between uses). When it’s plugged in and ready to go, here’s how to get going:
Attach the condensation collector.
The Instant Pot comes with a few accessories, most of which you won’t use a lot. Your go-to accessory is the plastic condensation catcher. Snap it onto the back of the Instant Pot to collect condensation from the steam; otherwise, you’ll end up with water all over the counter.
Place food inside the pot.
Once you’ve picked a one-pot meal, add all the ingredients to the pot. Be careful not to fill it over the “max fill line” noted on the pot’s side.
Close and seal the lid.
Place the lid on top of the pot and push down as you turn it clockwise (in the direction of the arrows printed on the lid). This will seal the lid to the pot so that the Instant Pot can pressure cook the food inside. Turn the valve (the little knob on top of the lid) to the sealing position.
Set the time and pressure.
Once you’re ready to cook, set the time and pressure controls according to your recipe instructions. Select “pressure cook” and use the + and – buttons on the control panel to set the time. Almost every Instant Pot recipe involves the pressure cook option, but note that other modes may differ. The “saute” mode should always be used with the lid off, and if you’re using the “slow cook” setting, make sure the valve is set to venting rather than sealing.
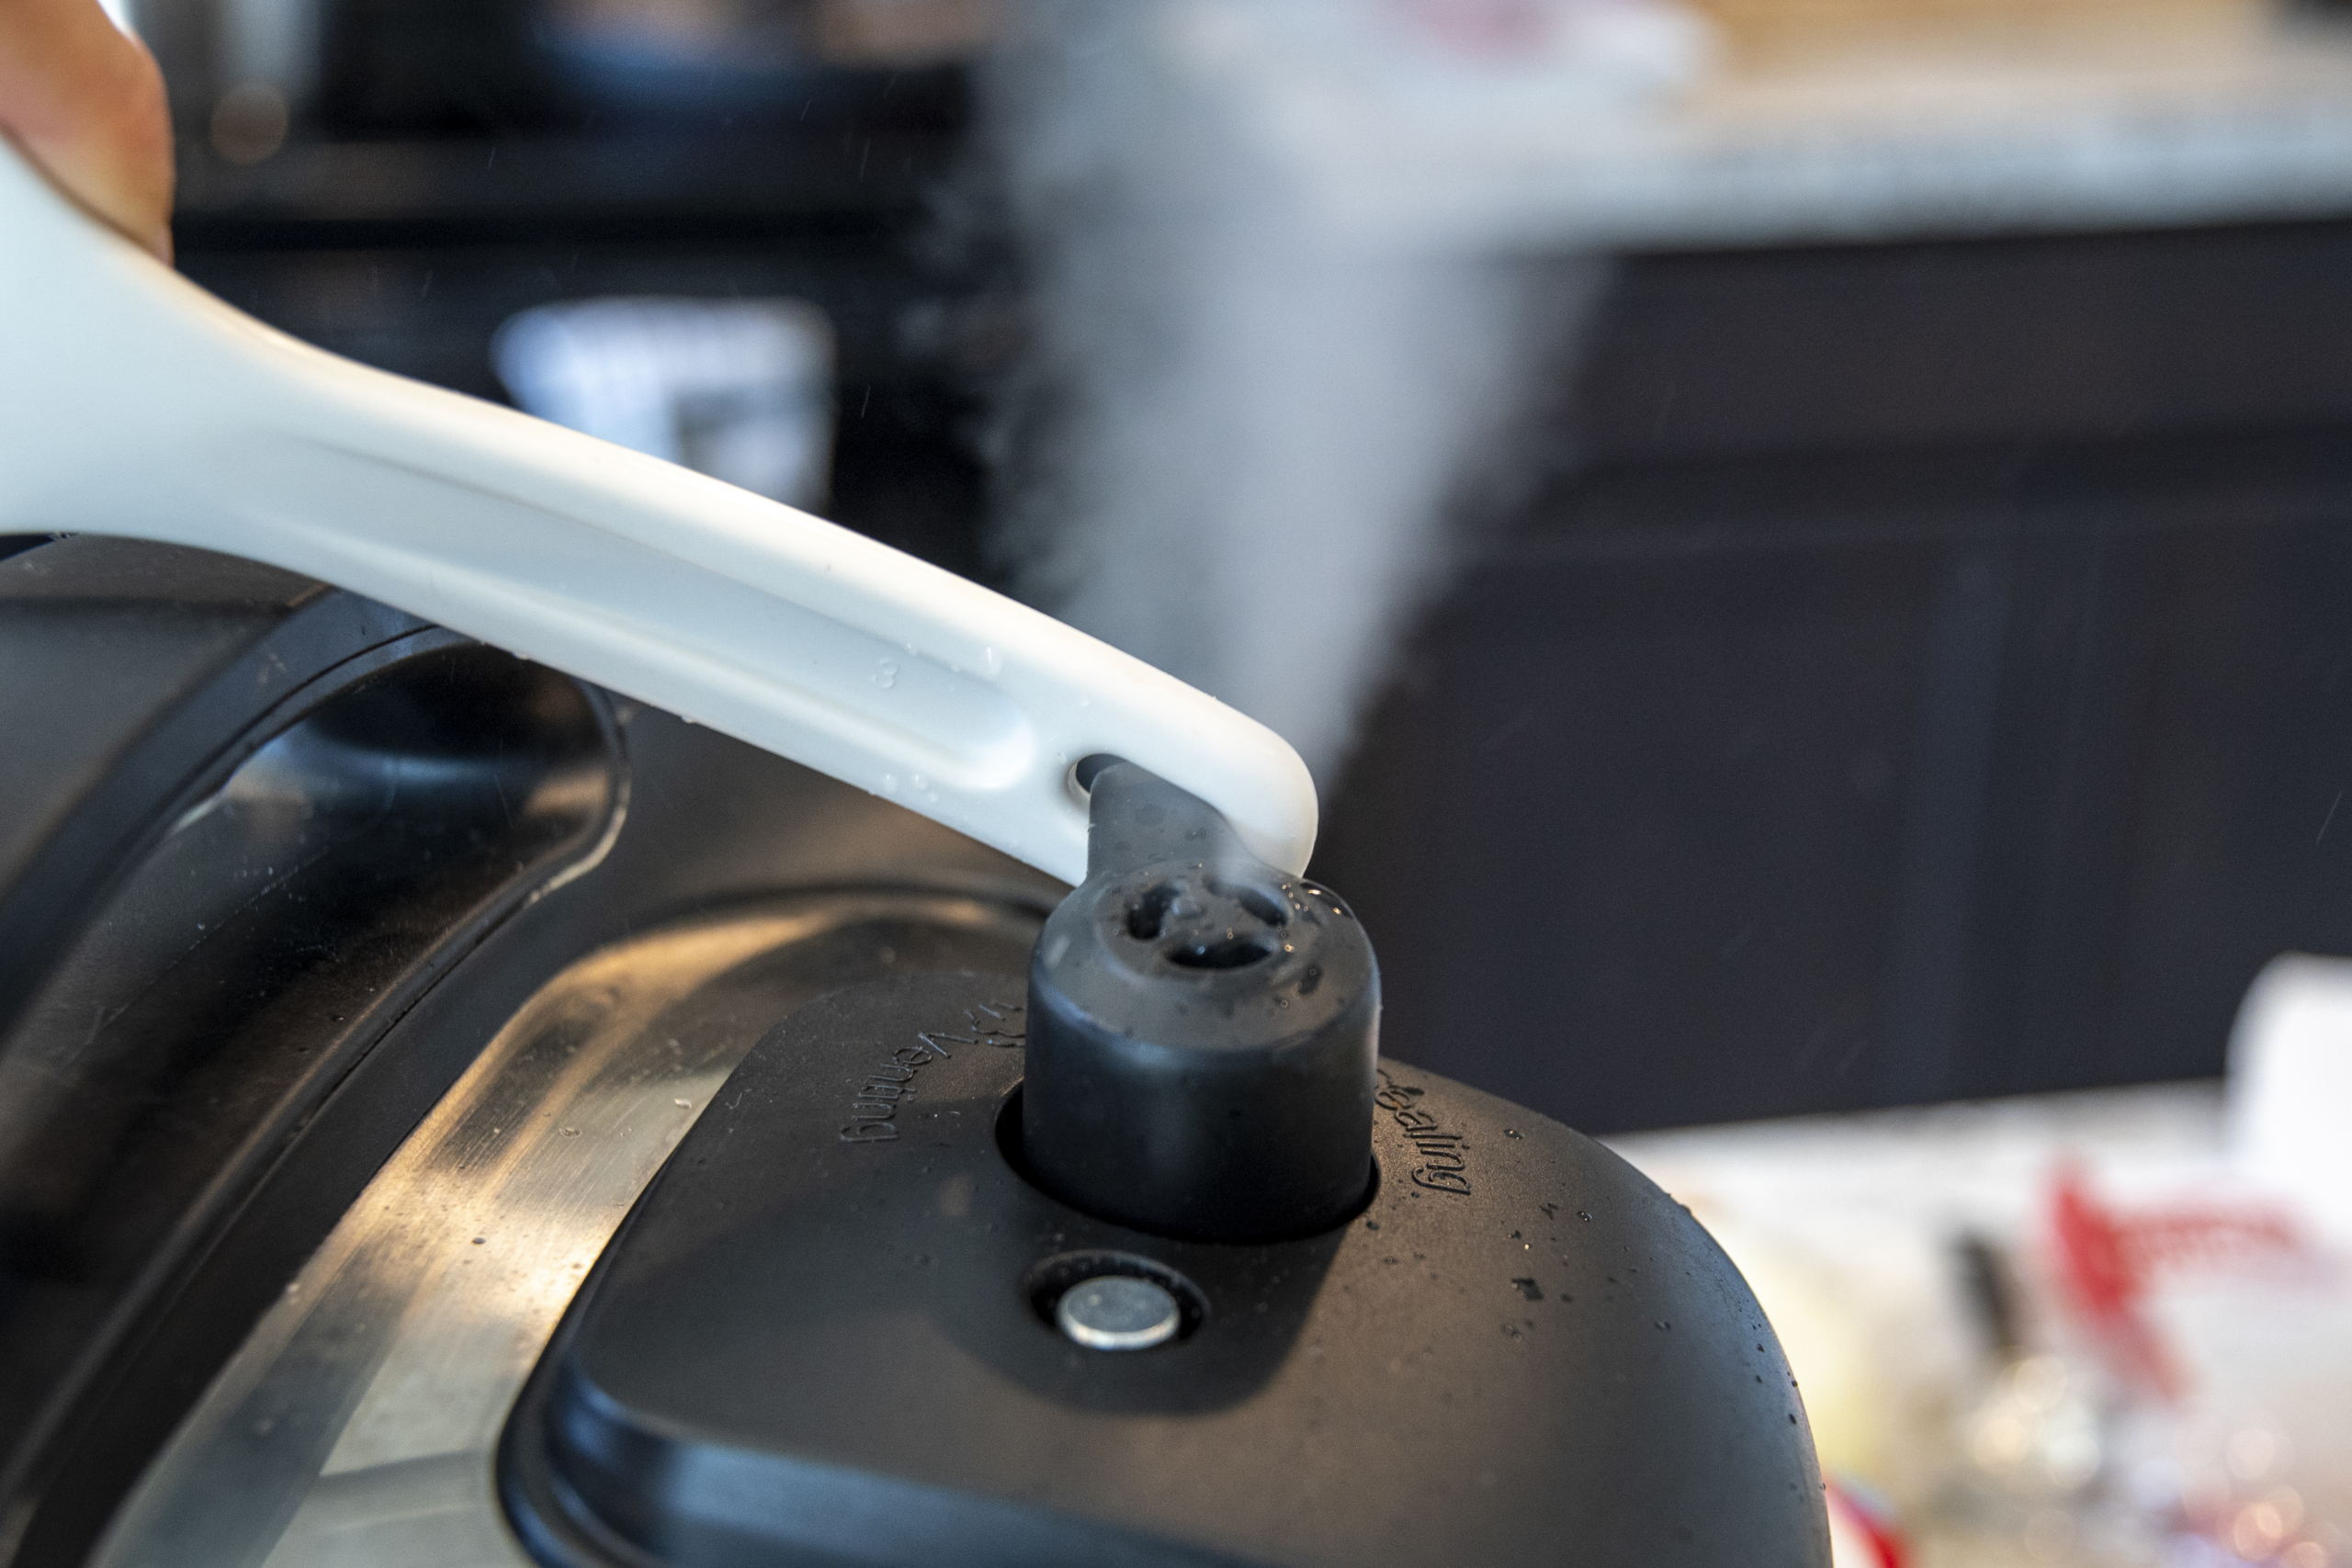
Allow to cook, and then release the pressure valve.
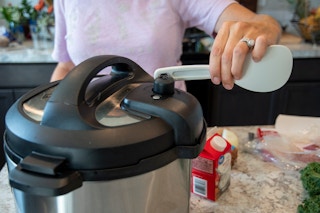
When your food is cooked, move the pressure release valve from the “sealing” position to the “venting” position. When you do this, all the hot steam from inside the pot will come out of the valve, so be careful not to burn yourself. It’s easiest to do this while wearing an oven mitt or by using a long-handled spatula to turn the knob so your arm is never directly over the steam. When all the steam has been released, you can open the lid.
Related: 20 Delicious Dinners You Can Make in 20 Minutes
Starting the Timer

When you hit “pressure cook,” your Instant Pot will default to the amount of time last used. Simply use the + and – buttons to adjust the time according to the recipe you’re making.
The Instant Pot takes a few minutes to reach the proper pressure to cook. If you set it at 10 minutes, it won’t actually be done in 10 minutes. Allow 3 – 4 extra minutes per recipe for the appliance to heat. The machine is smart enough to know how long you set it for, so even with the added minutes, after exactly 10 minutes of cook time, it’ll turn off and your food is done.
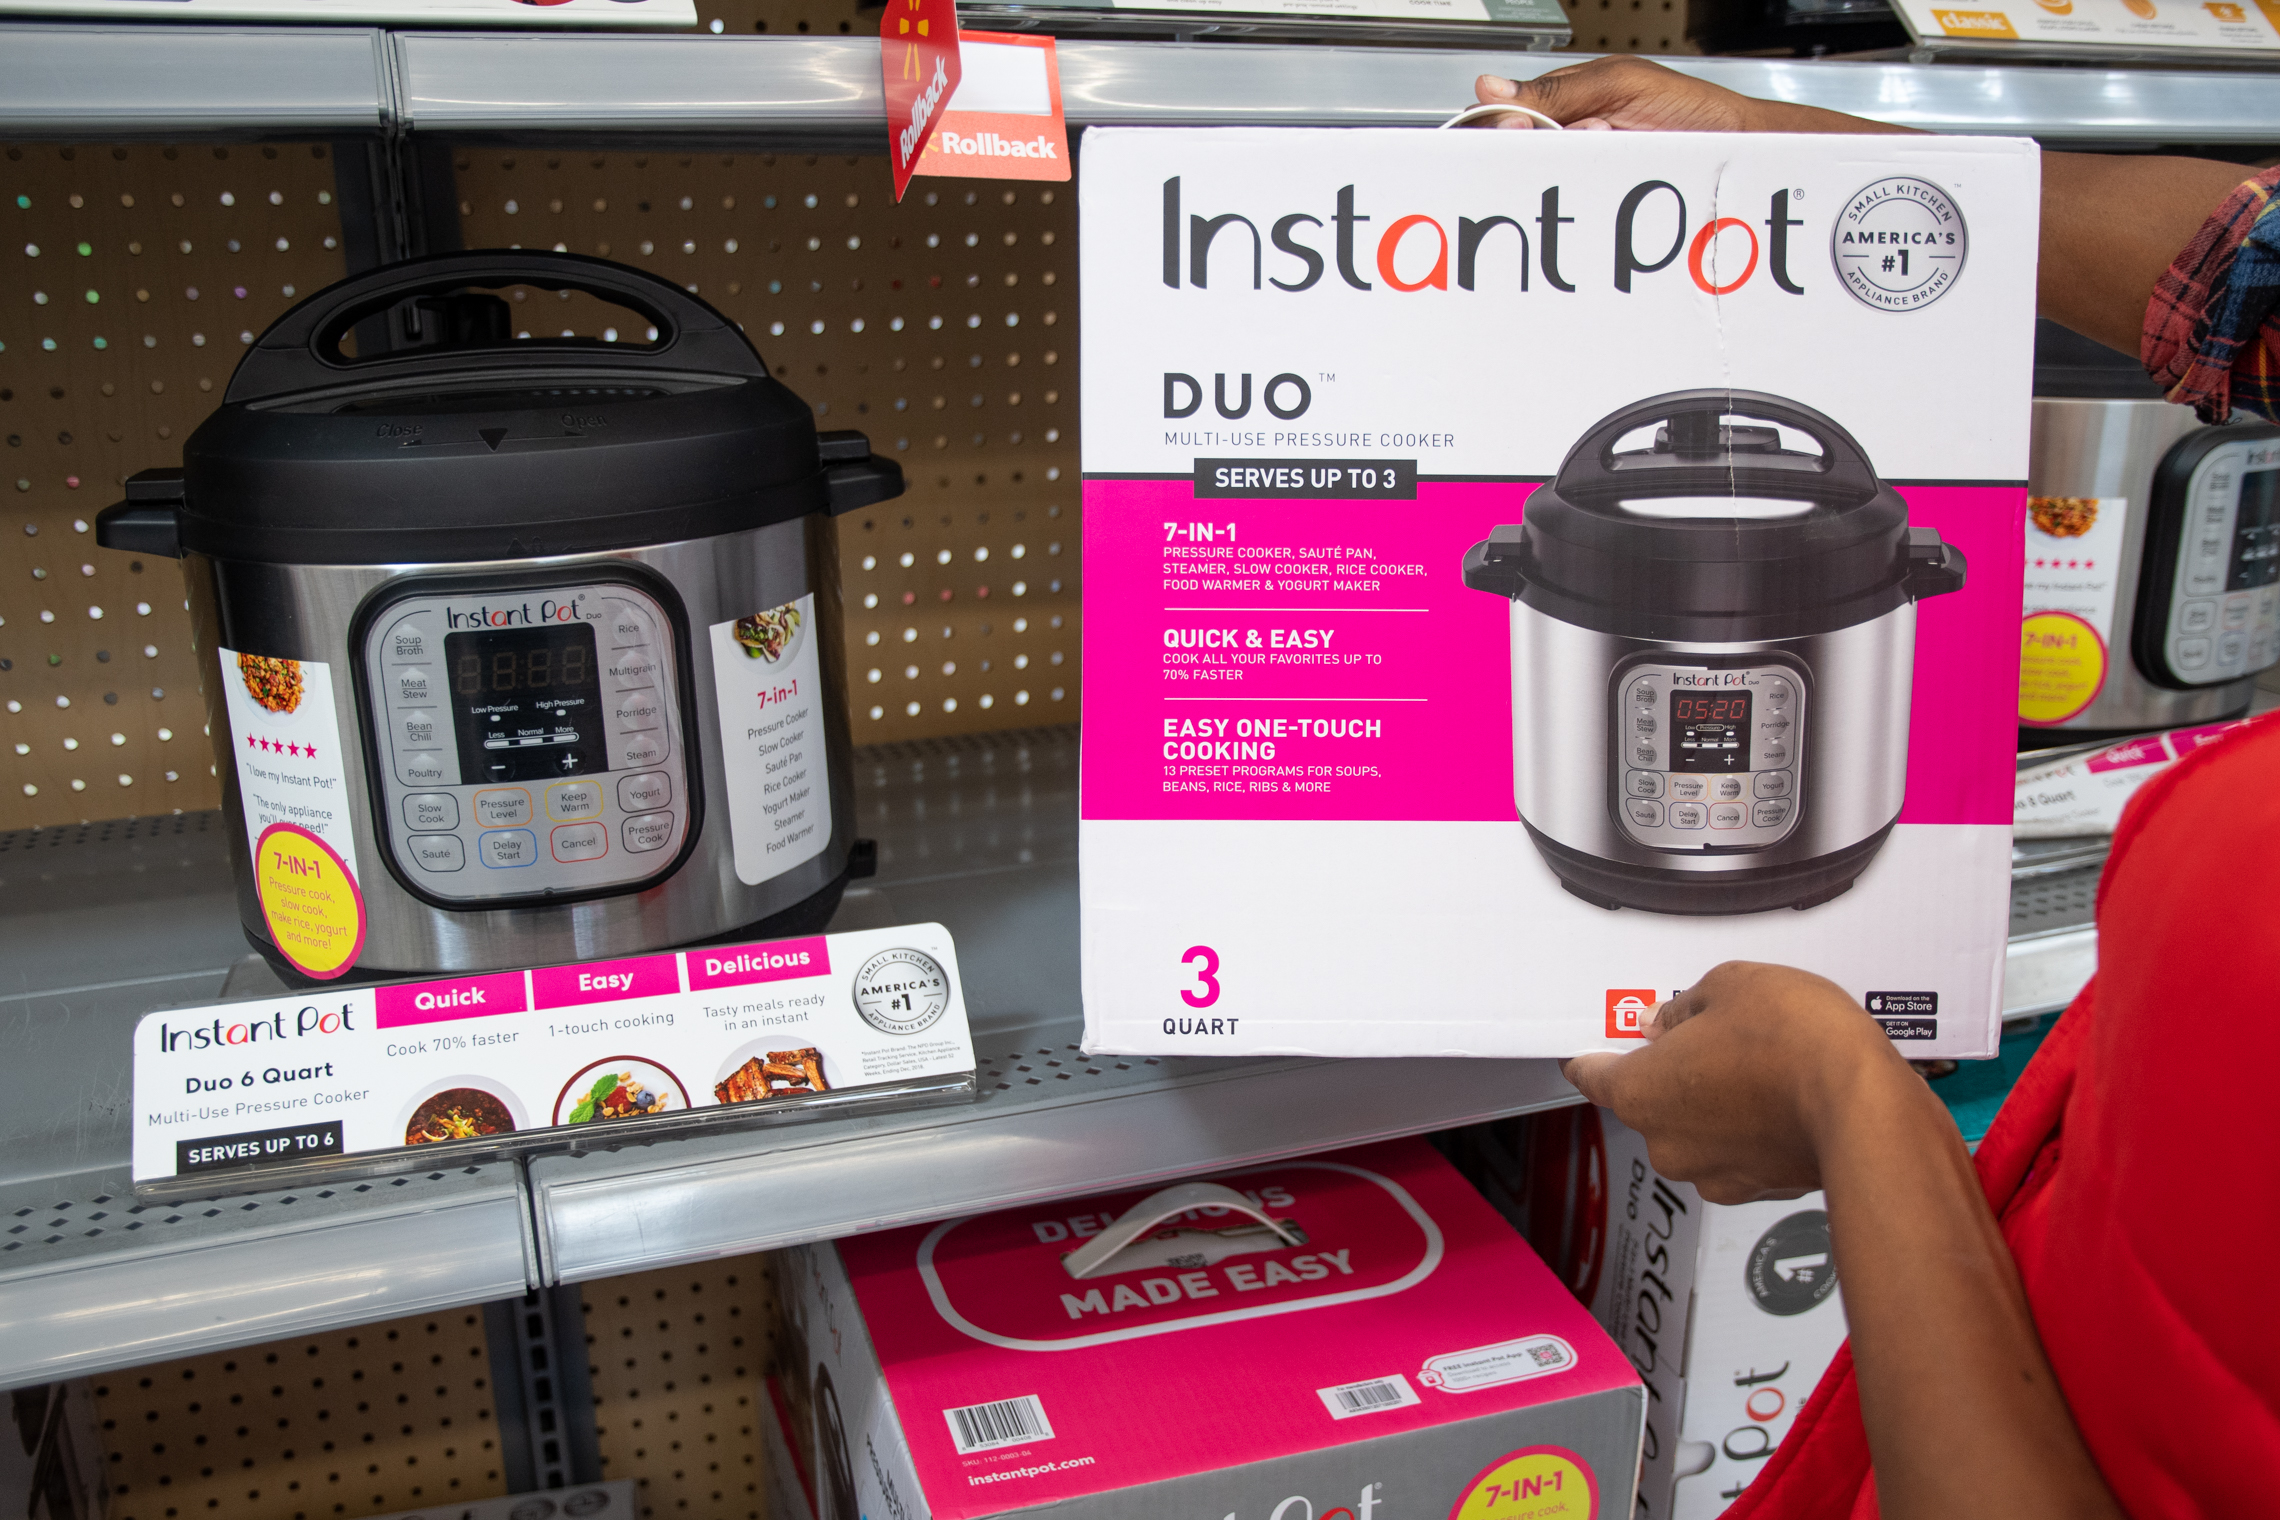
Starting the Instant Pot Duo Pressure Cooker
To start the Instant Pot Duo, plug it in and add the food you want to cook. Then use the control panel to set the pressure (high or low), and set it to the appropriate time. The confusing thing about the Instant Pot Duo is that it doesn’t actually have a start button — as soon as you set a time, it’ll start heating.
After passing the first minute of cook time, the number of minutes on the control panel will begin to decrease to let you know how much time is left.
Common Missteps to Avoid With the Instant Pot
Keep reading for more ways to make your next multicooker meal a success.
Don’t forget to add liquid before cooking.
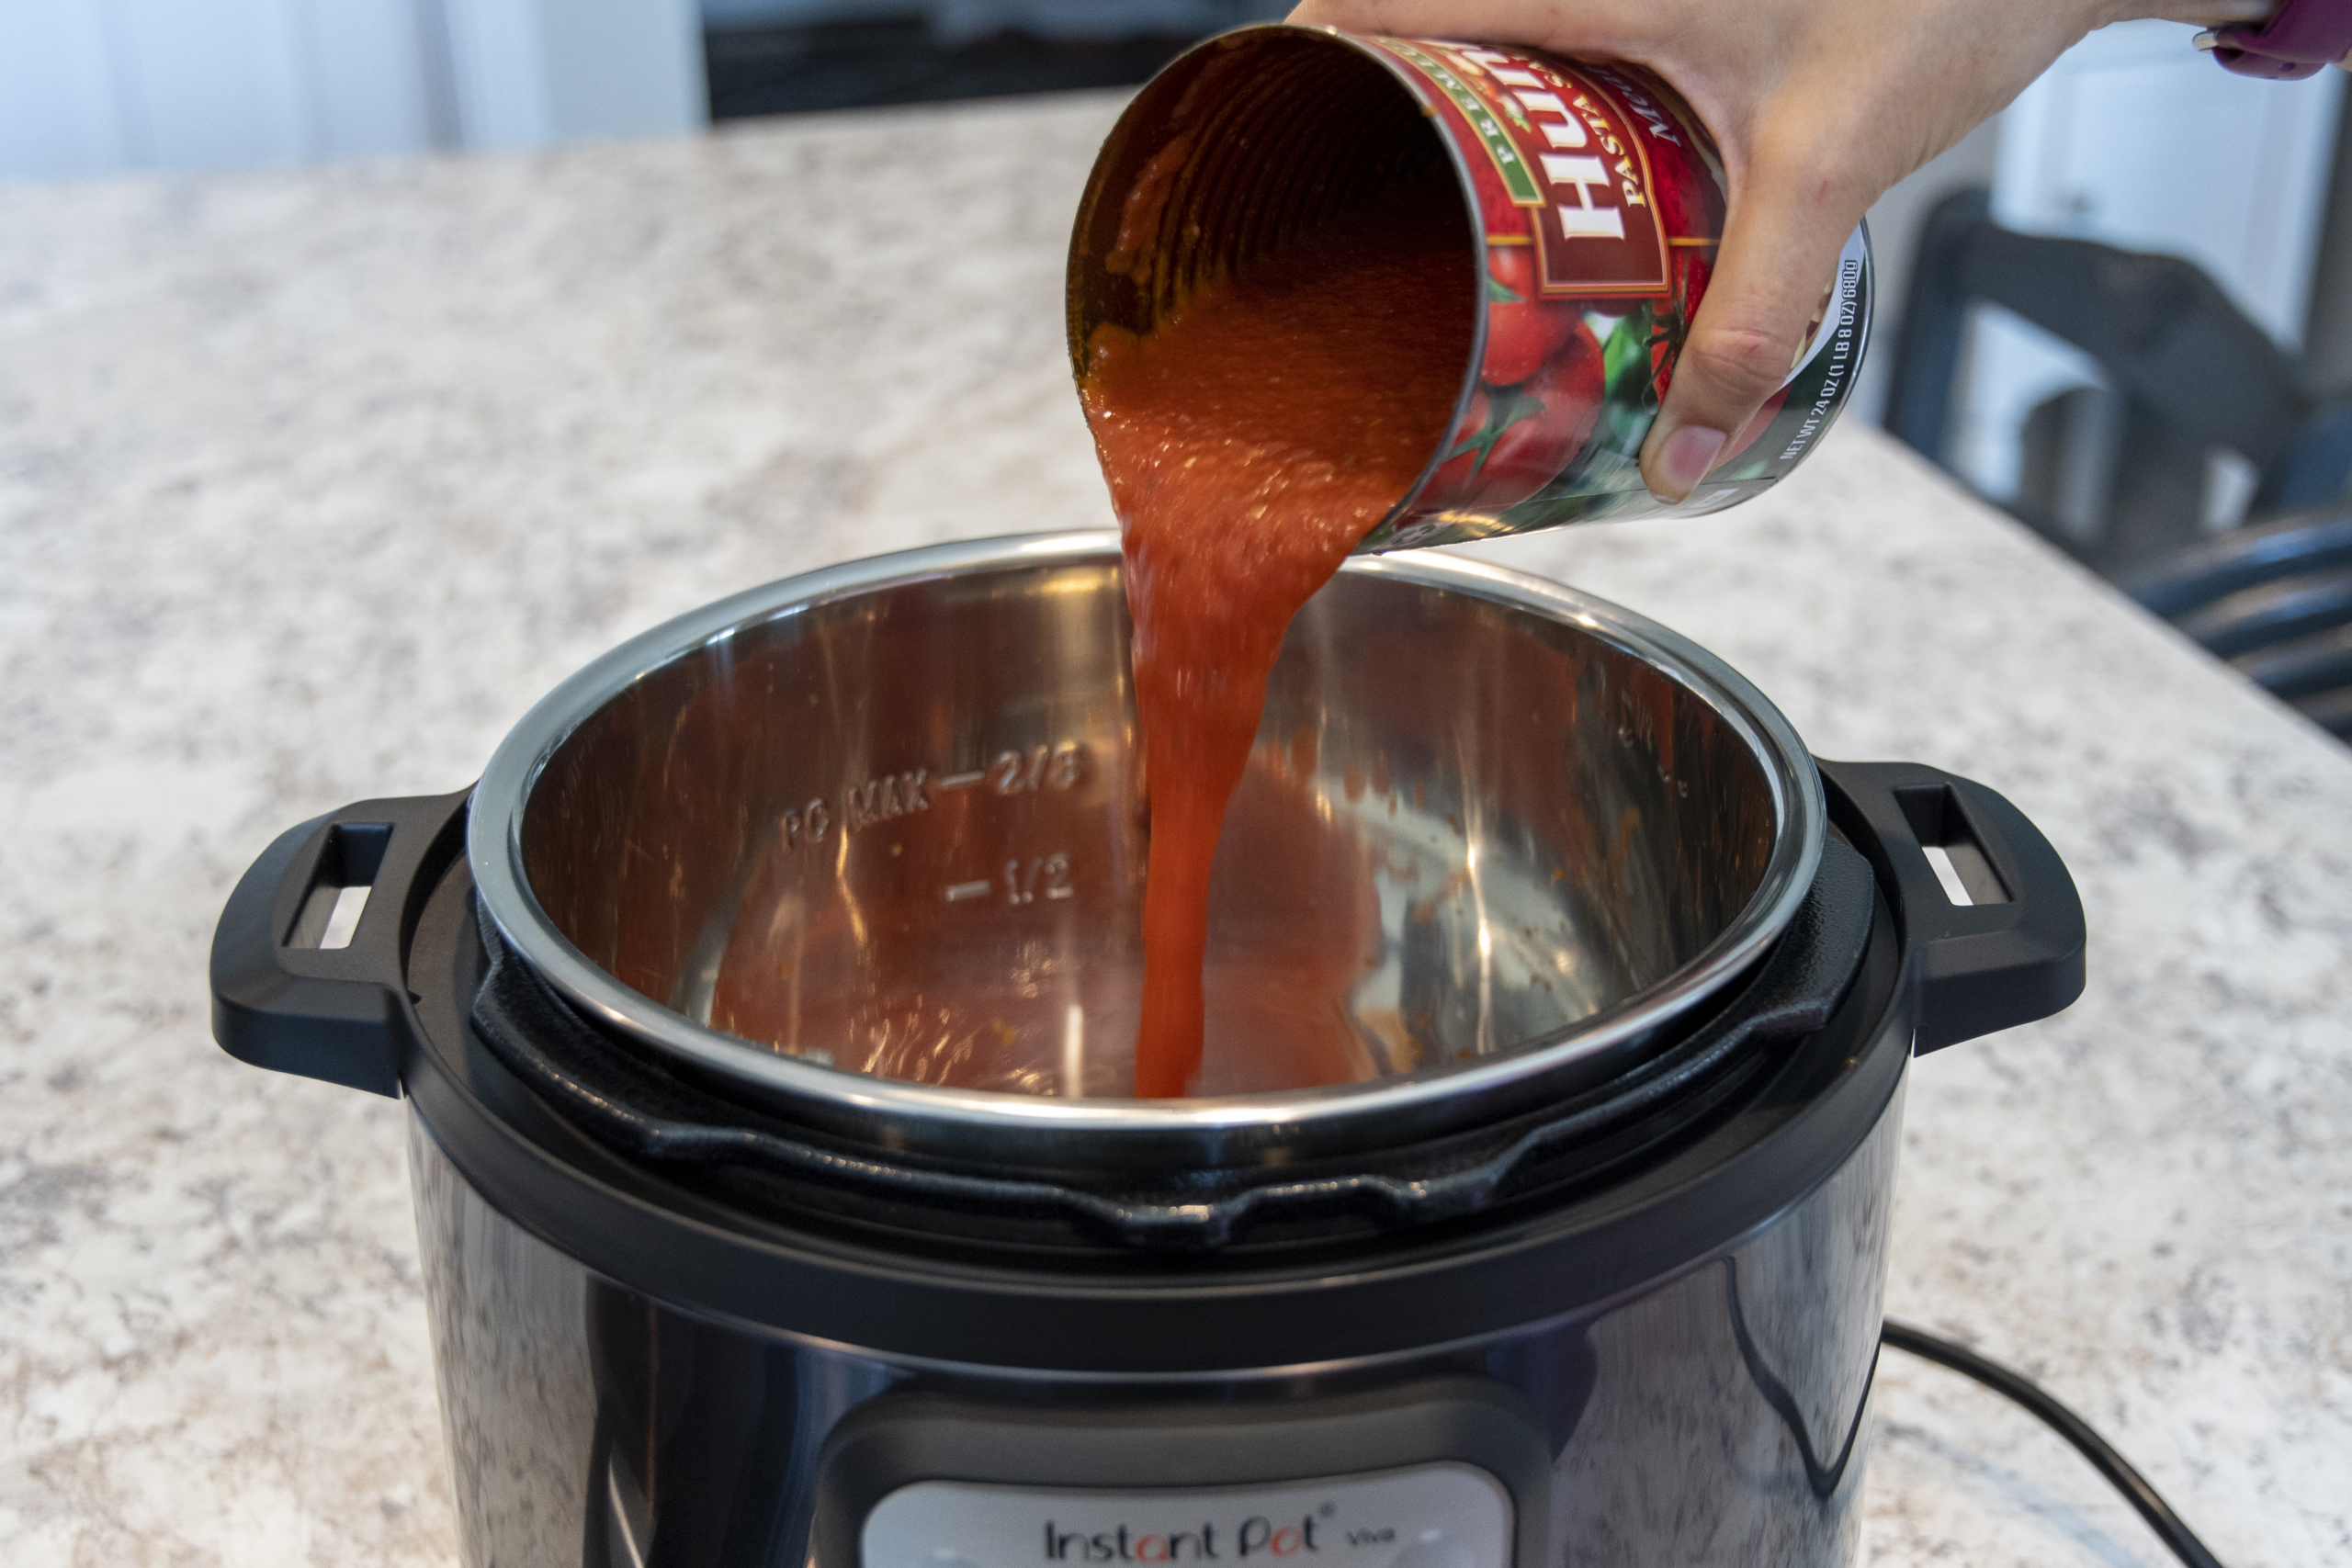
Since your Instant Pot works by using steam to create pressure, you’ll need to add at least one cup of liquid to your Instant Pot for any meal you cook.
Of course, there are exceptions to any rule. Sauces are already a liquid, so you’ll need little to no added water to build pressure inside your pot.
Also, some foods carry more water than others, so you’ll probably need to add less water with veggies (like tomatoes or spinach) than you would with denser foods like meats.
Instead of taking a shot in the dark, refer to your Instant Pot recipe for specific liquid requirements.
Pay attention to the “Max Fill” line.
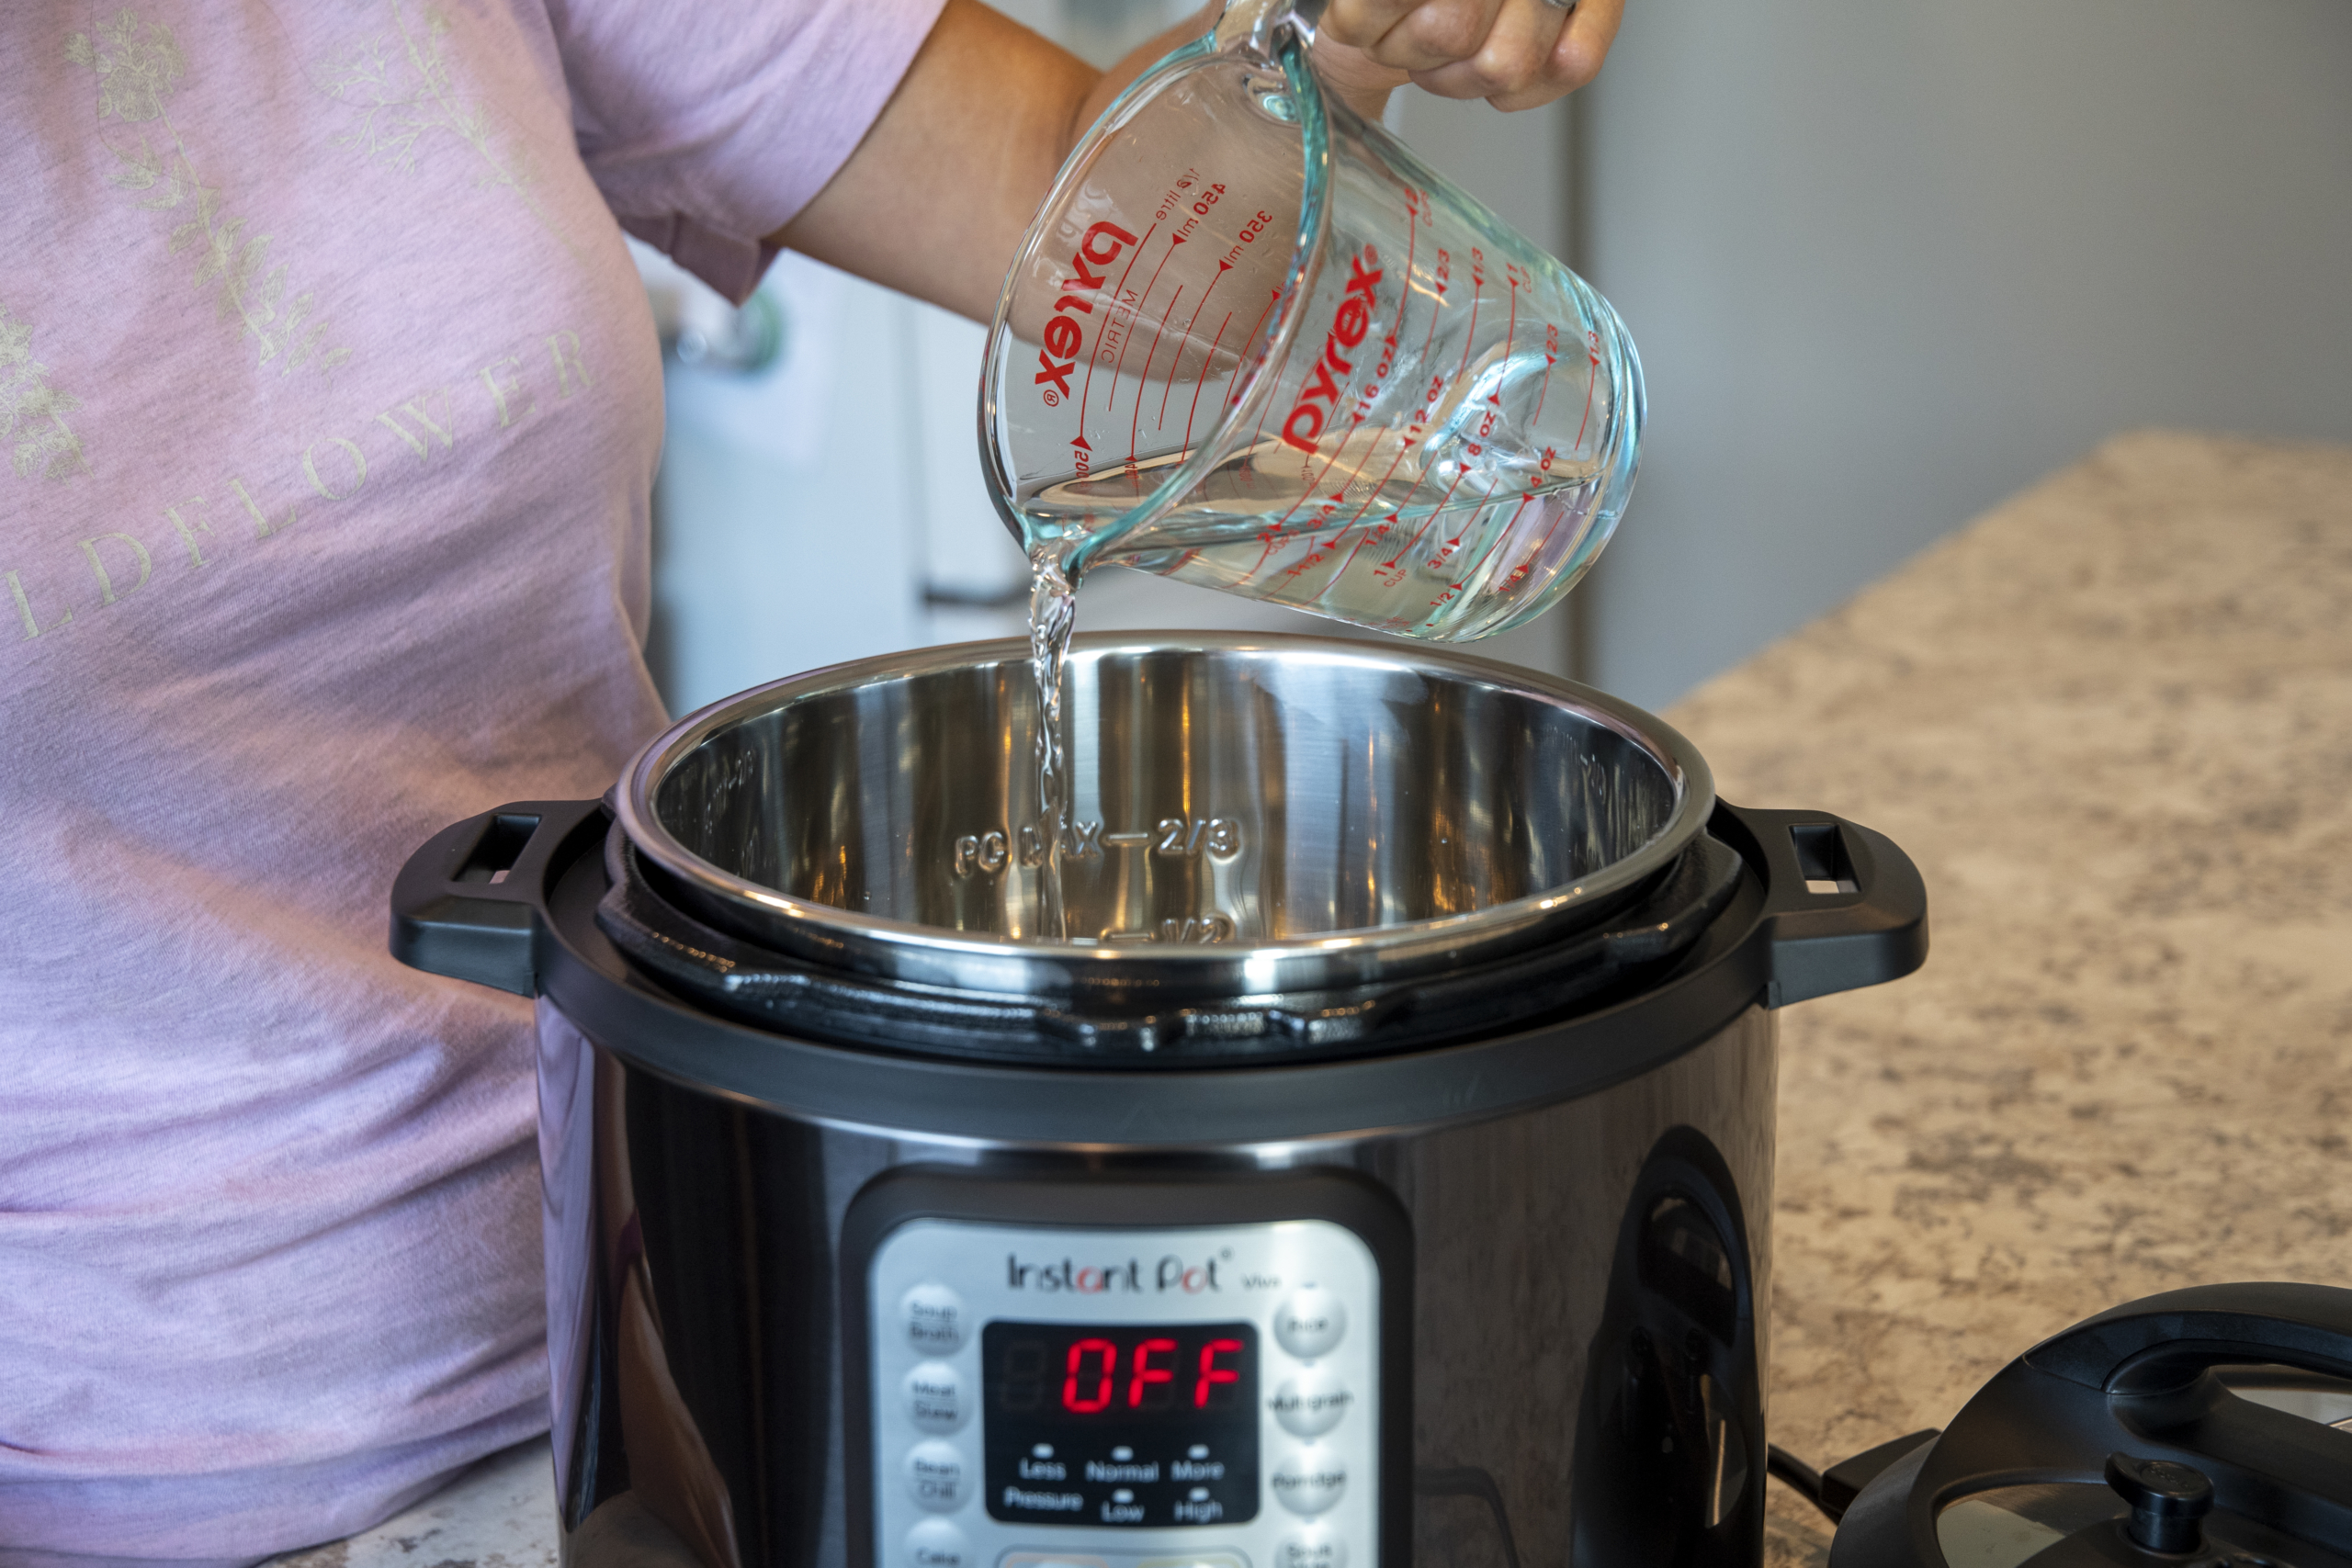
Inside your inner pot, you’ll see it says “PC MAX,” with a 2/3 line and a 1/2 line. It’s important to never fill your inner pot past than the 2/3 max line.
For food that expands with heat (such as rice or dried vegetables), do not fill the inner pot past the 1/2 line.
Overfilling your Instant Pot can result in leakage, splatter, or poorly cooked food — and it’s a mistake you’ll only make once.
Don’t forget to seal the steam valve before cooking.

Make sure the steam release handle is in the
- To seal the steam valve, close the lid and line up the steam release handle with the “wavy” lines next to the valve.
- To vent the steam valve, you’ll need to have the steam release handle in the Tag:iposition — either by pushing it back yourself (also known as a manual or “quick release”) or on its own via a “natural release.”
Know the difference between a Natural Release and a Quick Release.
There are two ways to release pressure from your Instant Pot: through a Natural Release or a Quick Release.
Natural Release: Your Instant Pot releases pressure on its own until the float valve (next to the steam valve on top of your lid) drops down. A natural release takes a bit longer, but it’s best for recipes with meats, soups, broths, beans, starchy foods, and foods with lots of liquid.
Quick Release: You manually release pressure from your Instant Pot by pushing the steam release handle back to the venting position until the float valve drops down. A quick release is much faster and is best for recipes with vegetables, fish, and fragile or fast-cooking foods.
Don’t use the same sealing ring for every Instant Pot recipe.

The sealing ring is an Instant Pot accessory and safeguard that keeps your lid locked tight during pressure cooking. It helps your machine withstand the high forces of pressure needed to cook the food inside.
Since the sealing ring lives under your Instant Pot lid, it can absorb a lot of the steam and smell your food emits while cooking.
That’s why it’s always good to have a spare sealing ring to use for different types of Instant Pot recipes. I recommend using one sealing ring for sweets and another sealing ring for savory dishes.
You can find these accessories on Amazon, like this 2-pack of sealing rings for less than $12.
Avoid overcooking food with the “Keep Warm” setting.
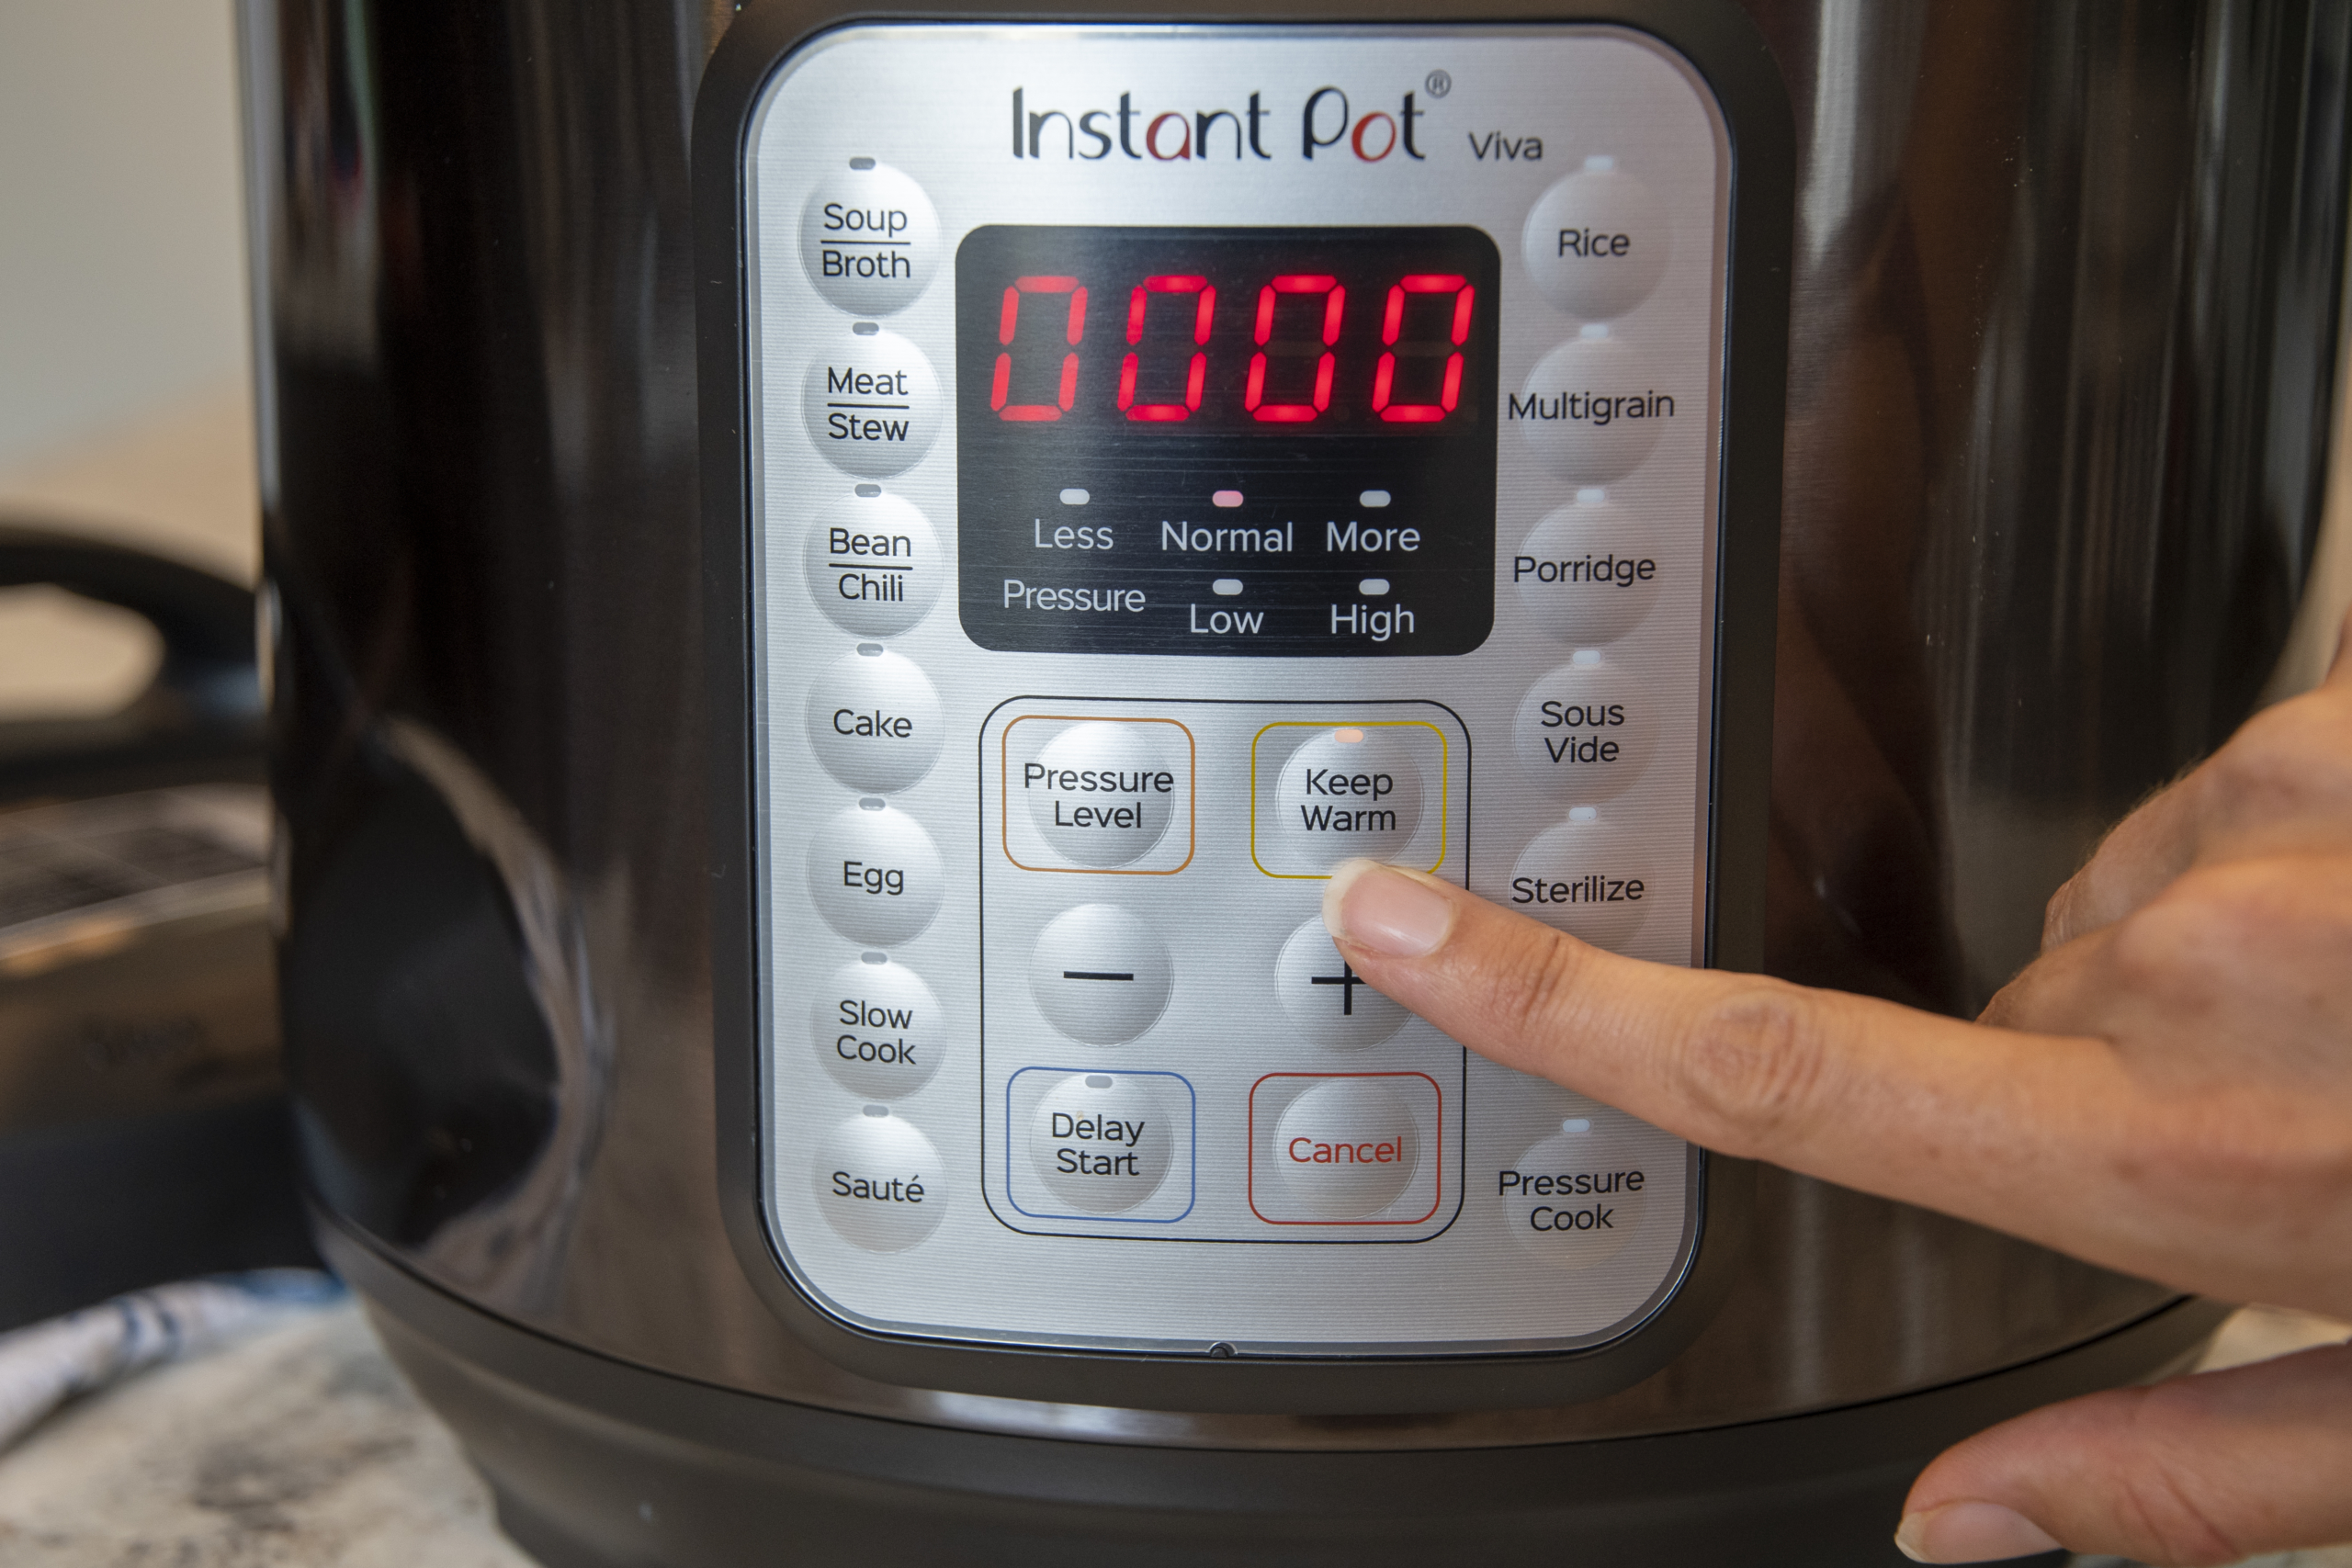
The Keep Warm setting automatically turns on when your food is done cooking, so it’s easy to get distracted and forget that it’s on. If you don’t manually shut off the machine, the Keep Warm setting will keep it on for 10 hours before the machine shuts off itself.
If you’d rather NOT use the Keep Warm setting on your Instant Pot, you can switch it off on the control panel and avoid the risk of overcooked food altogether.
It can take time for your Instant Pot to build and release pressure.

A Quick Release only takes a few minutes, but Natural Releases take 10 – 40 minutes, which can really add to your overall cook time.
Before starting your Instant Pot recipe, don’t forget to factor in the time it takes to build and release pressure. A 15-minute recipe can quickly turn into a 35-minute recipe when you account for the whole process.
Pay attention to the timer and start buttons on your Instant Pot.

The cooking programs are located on the left and right sides of your control panel. Press the button for the cooking program you want to use; then press the “+” and “-” buttons to add or subtract time.
10 seconds after you choose your settings, your Instant Pot will beep three times and turn on to start the preheating cycle.
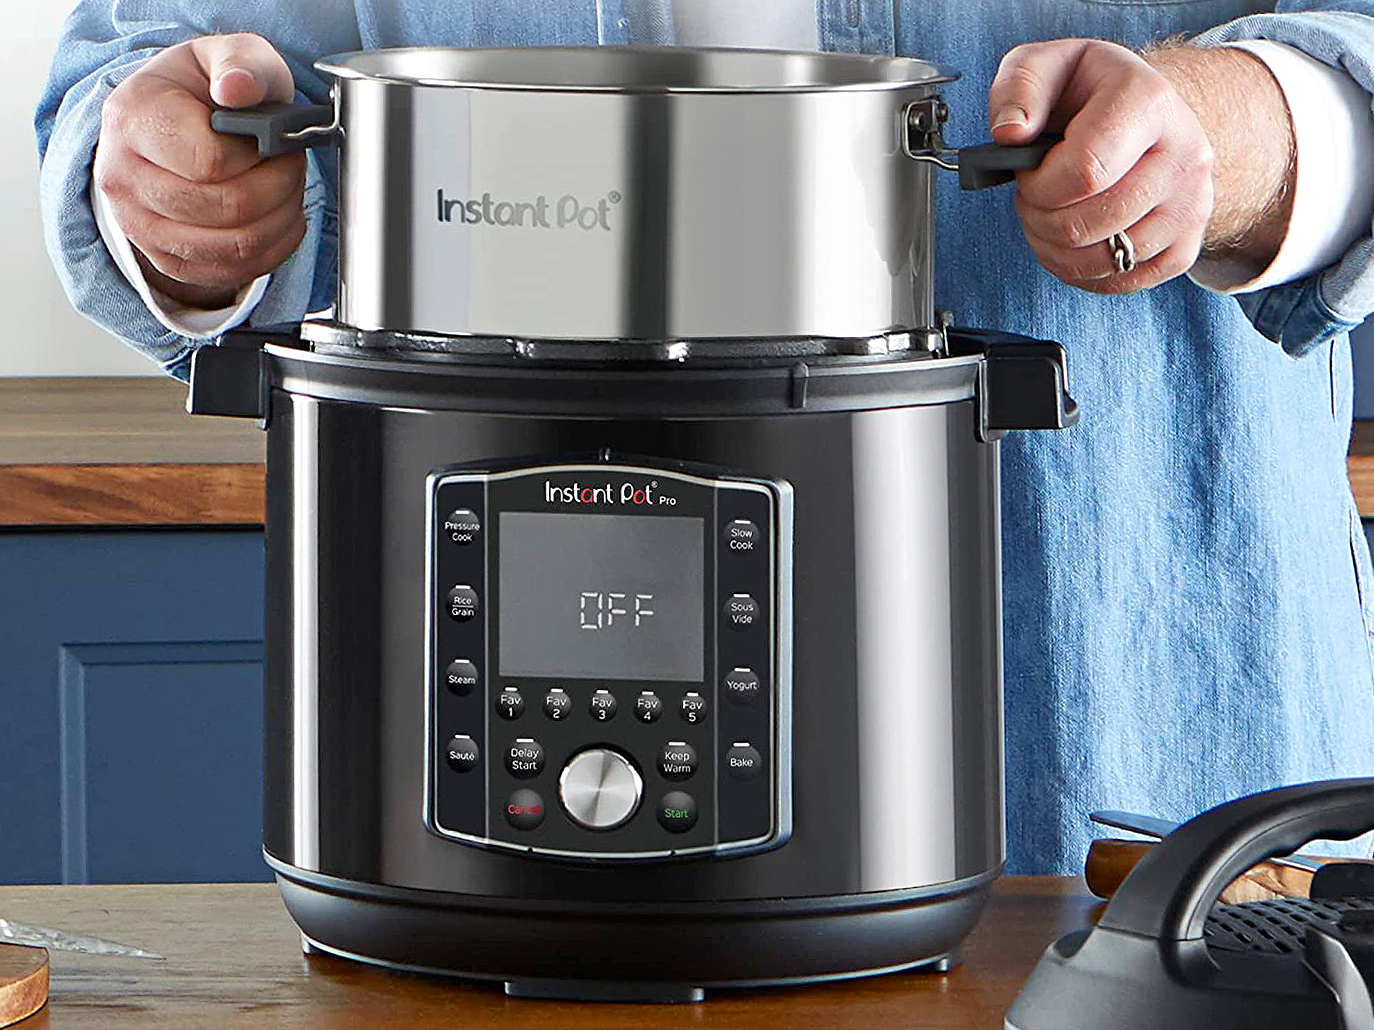
Don’t forget to replace the inner pot before cooking again.

Since you remove the inner pot to clean it, you may forget to place it back in your Instant Pot before dumping in food for your next recipe.
I recommend replacing the inner pot immediately after cleaning and drying it so you don’t have to remember it for next time.
Don’t underestimate the saute function.

The saute program works the same as a stovetop pot or pan, but it’s definitely a game-changer. You can stir-fry veggies, thicken sauces, and brown meats without adding another pot to your pile of dishes.
Your Instant Pot lid stays off for the saute program, so you don’t have to deal with the build and release parts of pressure cooking.
How to Find the Best Instant Pot Deals
- Check out all our latest Instant Pot deals to see what’s available now.
- Find out how to spot the best deals with these awesome Instant Pot savings tips.
- Download The Krazy Coupon Lady app to set deal alerts for sales and price drops on the best Instant Pot machines.
Download the KCL app to add and redeem coupons in store


For iOS and Android users.
Get all the new deals and savings hacks straight to your inbox
Will be used in accordance with our Privacy Policy